In this tutorial you will learn about:
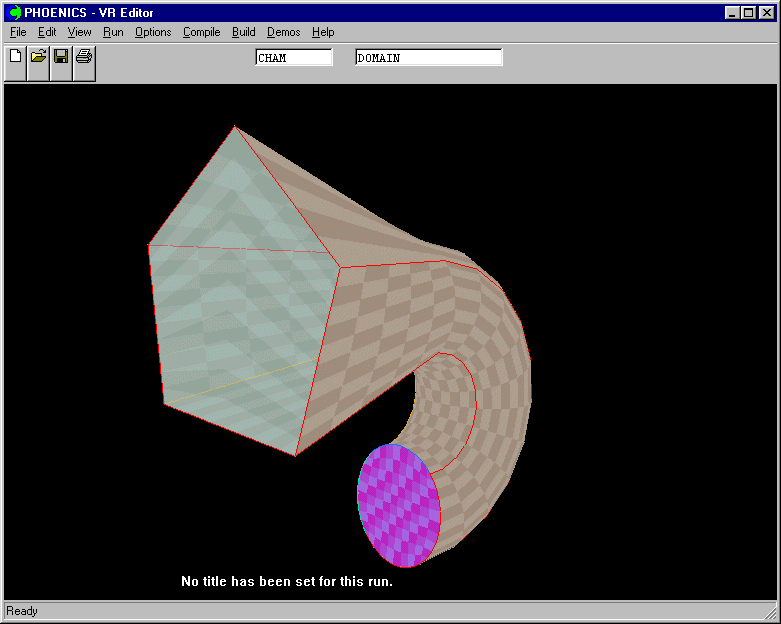
This tutorial deals with the creation of the geometry for a duct, where the cross-section changes from a pentangle to a circle along the length.

BFC Tutorials 1 - 5 dealt with the creation of the geometry and mesh. This tutorial activates solution of the required flow variables, and sets boundary conditions. The final outcome of this tutorial is available as Library case B115.
From the system level:
To enter the PHOENICS-VR environment, click on the PHOENICS icon on the desktop, or click on Start, programs, PHOENICS, PHOENICS.
From the commander level:
To enter the PHOENICS-VR environment, click on the 'Run vre' icon in the left column.
In PHOENICS-VR environment,
Start with Library case B114 - click on 'File' then on 'Load from libraries'. Type B114 into the Case Number box, then click OK.
To enter VR Editor:
This is the default mode of operation.
If you are continuing BFC Tutorial 4, you will join Tutorial 5 here.
Activate solution of variables.
Click on Menu / Models. Click on Equation formulation - Elliptic staggered. Select Elliptic GCV and click OK. This selects the GCV Collocated solver, which is very good at dealing with non - orthogonal (distorted) grids.
Leave the default 'Solution of velocities and pressure' to 'ON' and use the default KECHEN turbulence model.
Set numerical controls
Click on Numerics, and enter 100 in the 'Total number of iterations' box.
Exit the Main menu by clicking Top Menu, OK.
All the domain-related settings have been made - now set the flow boundary conditions.
Create the inlet at K=0
Click on 'Settings' menu, select 'New' and 'New object' to bring up the object dialog box.
Click on 'Size' button to set the object size as:
| ISize | 10 |
| JSize | 5 |
| KSize | 0 |
Note that in BFC, the object sizes are set as numbers of cells in each co-ordinate direction. Planar objects have zero thickness in one direction.
Click on 'General' and set the 'Type' to INLET.
Click on ATTRIBUTES, and set the Z direction velocity to -1.0. Note that the velocities are specified in the Cartesian co-ordinate system.
Click OK to close the Attributes dialog, and OK to close the Object dialog.
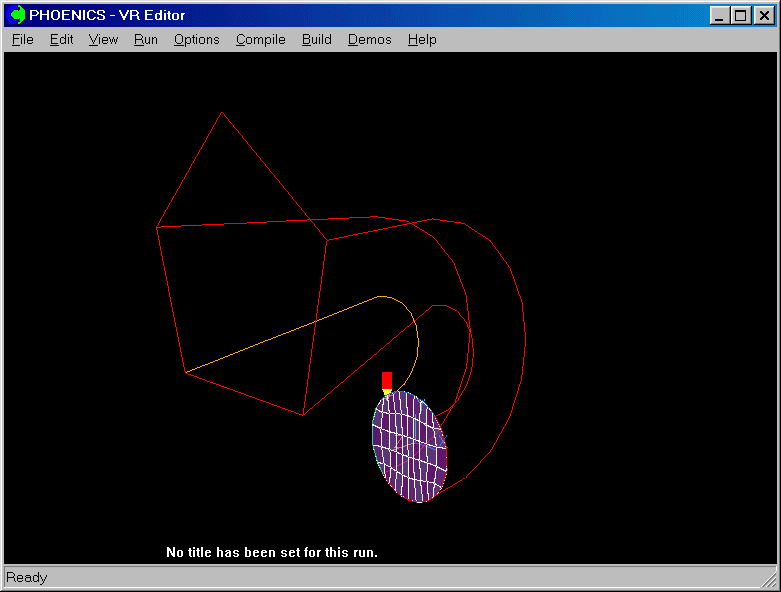
The screen should look like this:

Create the outlet at K=16
Click on 'Settings', and select 'New' and 'New Object'.
Click on 'Size' and 'Place' buttons to set the size and position as follows:
| IPos | 0 |
| JPos | 0 |
| KPos | 15 |
| ISize | 10 |
| JSize | 5 |
| KSize | 0 |
Note that in BFC, the object positions are set as cell corners in each co-ordinate direction. The numbering starts at zero.
Click on 'General' and set the 'Type' to OUTLET.
Click on Attributes, and switch 'External turbulence' to User-set. We need to do this as the exit cuts a vortex - leaving the 'External turbulence' at the default 'In-cell' leads to excessive turbulence levels in the diffuser section.
Click OK twice to close the Object dialog.
Create four plates
We now need four plates to provide friction conditions on the insides of the duct.
Create the first plate at J=5 (the last cell corner in J).
Click on 'Settings', and select 'New' and 'New Object'.
Set the size and position as:
| IPos | 0 |
| JPos | 5 |
| KPos | 0 |
| ISize | 10 |
| JSize | 0 |
| KSize | 15 |
Click on 'General' and set the 'Type' to PLATE.
Click OK to close the Object dialog.
Make the second plate at J=0 by duplication.
Click the Duplicate object or group button and 'OK'.
Move the duplicated object to Jpos=0.
Create the third plate at I=10 (the last cell corner in I).
Click on 'Settings' and select 'New' and 'New Object'.
Set the size and position as:
| IPos | 10 |
| JPos | 0 |
| KPos | 0 |
| ISize | 0 |
| JSize | 5 |
| KSize | 15 |
Click on 'General' and set the 'Type' to PLATE.
Click OK to close the Object dialog.
Make the last plate at I=0 by duplication.
Click the Duplicate object or group button and 'OK'.
Move the dupliacted object to Ipos=0
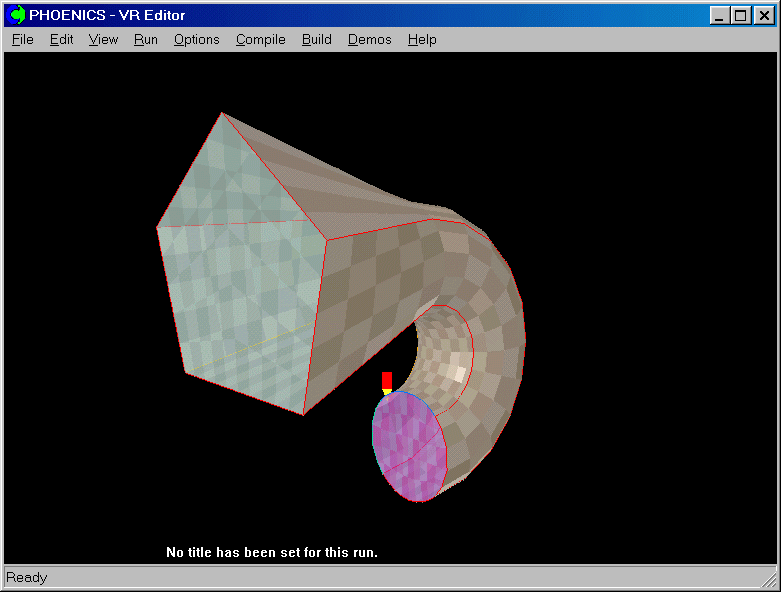
The final geometry should look like this:

The plates are hiding the inside of the duct, so we can hide them. Right-click on the Hide and show toggle, and set the entry for PLATE to 'Hide all'. Click OK. The plates will all be hidden from view, but will still remain active in the solution.
Set monitor location
The last action before running the Earth solver is to place the monitoring point (probe) in a sensible location.
Click on the image background, to ensure that no object is active. In this mode, the Position buttons on the hand-set move the probe. Use these to place the probe at (5,3,10).
In the PHOENICS-VR environment, click on 'Run', 'Solver'(Earth), and click on 'OK' to confirm running Earth.
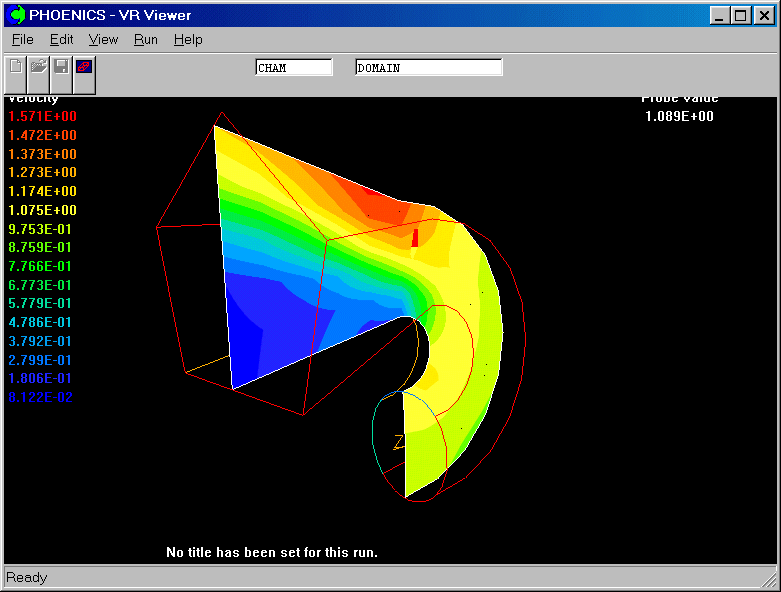
In the PHOENICS-VR environment, click on 'Run', 'Post processor',then GUI Post processor (VR Viewer) . Click 'OK' on the file names dialog to accept the default files.
To view:
To select the plotting variable:
To change the direction of the plotting plane, set the slice direction to X, Y or Z
![]()
To change the position of the plotting plane, move the probe using the probe position buttons
 .
.

In the PHOENICS-VR environment, click on 'Save as a case', make a new folder called 'BFC ' (e.g.) and save as 'CASE5' (e.g.).