The aim of this tutorial is to show:
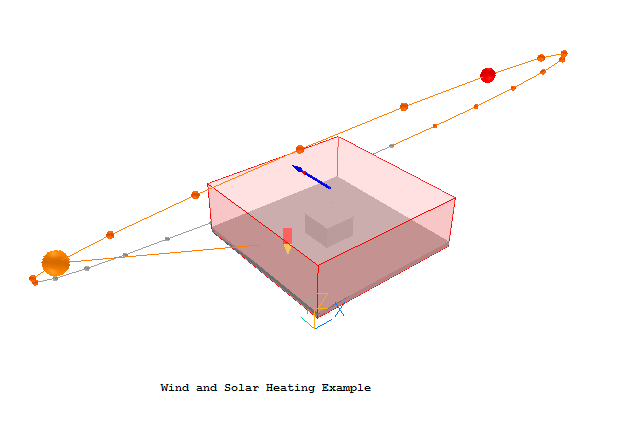
The full geometry of the case is shown in Figure 1 below.

Figure 1. The geometry of the Wind and Solar Heating example
We will use the Weather File for Gatwick in the UK, and we will take the data for May 1, at 17:00 hours. At this time, the wind is blowing from the South (indicated by the red arrow) with a reference velocity of 3.1 m/s at 10m above the ground. The external pressure is 1.02000 Pa and the air temperature is 19.2C. The temperature of the earth is 13.5C, and the sky 0C.
The direct solar radiation is 446W/m2, and the diffuse radiation is 136W/m2. The ground roughness height is 0.1m, suitable for low crops, occasional large obstacles.
The majority of this data will be read from the data file GBR_London.Gatwick.037760_IEWC.epw. The tutorial assumes that this weather file has already been downloaded from the EnergyPlus website.
Should you wish to practice downloading the file yourself, instructions for doing so are given in TR326.
From the system level:
To enter the PHOENICS-VR environment, click on the PHOENICS icon on the desktop, or click on Start, programs, PHOENICS, PHOENICS.
From the commander level:
To enter the PHOENICS-VR environment, click on the 'Run vre' icon in the left column.
In PHOENICS-VR environment:
To set the case up from the default mode, please follow the tutorial 'Wind and Solar Heating' up to the point 'Running the Solver', then proceed as below.
Alternatively, the case can be loaded from the Library as case 673. To do this, click 'File', 'Load from Libraries', enter 673 in the 'Case number' entry box and click OK.
Modify the WIND
Click on
on the VR-Editor panel (or the O icon on the tool bar) to bring up the Object Management Dialog; then double-click the WIND object and open the attributes dialog.
Set 'Use weather data file' to 'Yes', then click the new button 'Configure file'.
To select the weather file to be used, click the name of the file, in this case NOTSET as no file has been chosen yet. In the file browser, browse to \phoenics\d_polis\d_wkshp\windsun, and select the file GBR_London.Gatwick.037760_EWEC.epw. If you have chosen to download the file yourself, go to the folder where you have saved it.
Click 'Load data file' to read the file.
Change the Month to May.
Set the date and time to 1 May, 17:00. Note how the wind direction, wind speed, air temperature, ground temperature and atmospheric pressure all update to the new values. Click 'OK'. Once again, the data values are updated. The input boxes are all grayed out - the values can only be changed by clicking 'Configure file' and selecting a different date and time.
If 'Use weather file' were now set back to 'No', the data input boxes would become 'live' whilst retaining the new values. Leave the weather file set to 'Yes', and click 'OK' twice to close the Wind object dialogs.
Modify the SUN
Double-click the SUN object and open its attributes dialog. The sun object is sharing the weather file with the wind object, and is already configured for the same date and time. If the date and time are changed here, the wind object will automatically pick up the same date and time as set here. Click 'OK' twice to close the Sun object dialogs.
In the PHOENICS-VR environment, click on 'Run', 'Solver'(Earth), and click on 'OK' to confirm running Earth.
In the PHOENICS-VR environment, click on 'Run', 'Post processor',then GUI Post processor (VR Viewer) Viewer)'. Click 'OK' on the file names dialog to accept the default files.
The shading can be checked by plotting contours of the variable LIT (for the next few plots it
is best to turn the contour averaging off - click 'Select variable - plot options
 on the handset or tool bar, then on the Contours tab un-tick 'Averaged'):
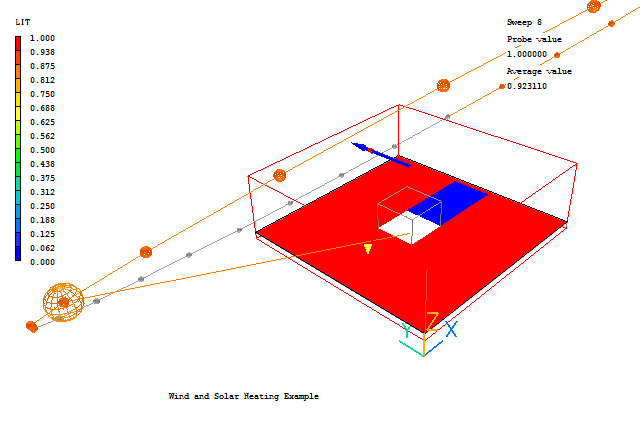
Un-averaged Contour of LIT at Z= 5.368
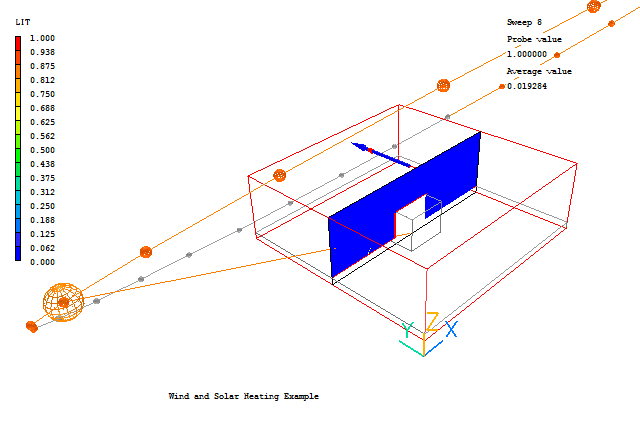
Un-averaged Contour of LIT at Y = 75.0
The solar heat load can be checked by plotting contours of #QS2:
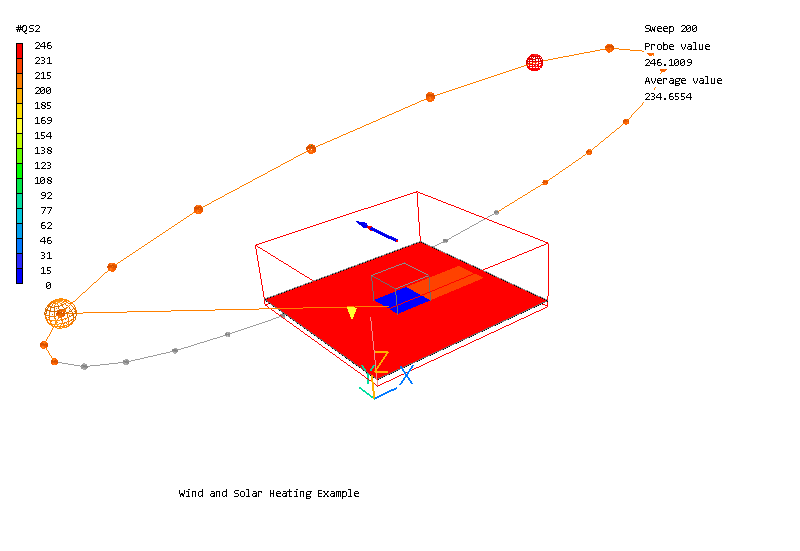
Un-averaged Contour of #QS2 at Z=4.73
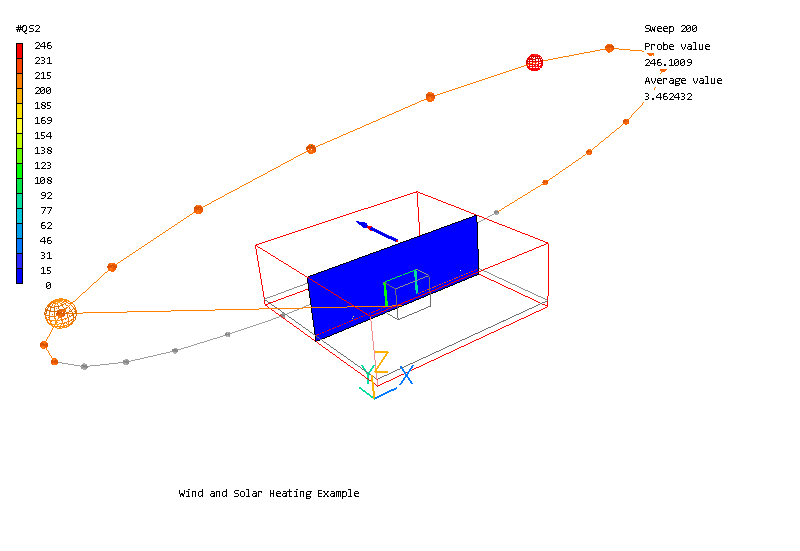
Un-averaged Contour of #QS2 at Y = 75.0
From these images we can see that the shadow is behind the building as expected. In the shadow zone, only the diffuse heating is applied. The heat load is applied in the first layer of cells inside the solids.
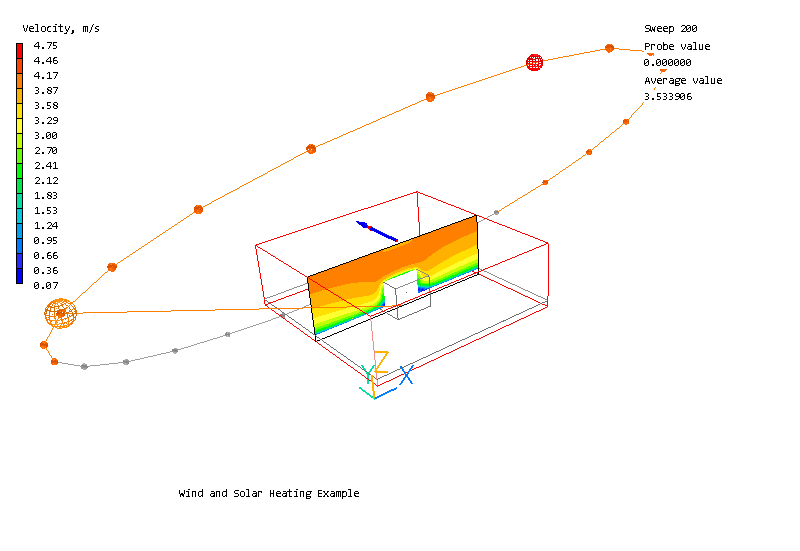
The flow field outside the building should be like this (with contour averaging turned on):
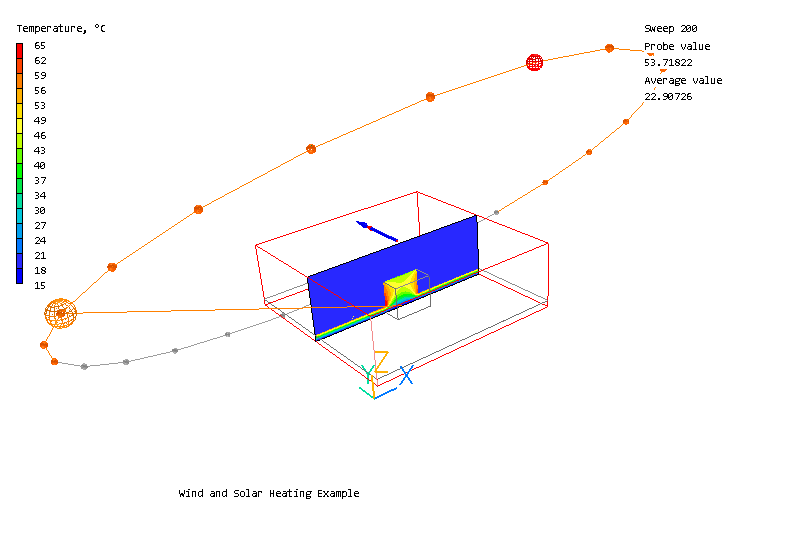
The temperature field (with contour averaging turned off) is like this:
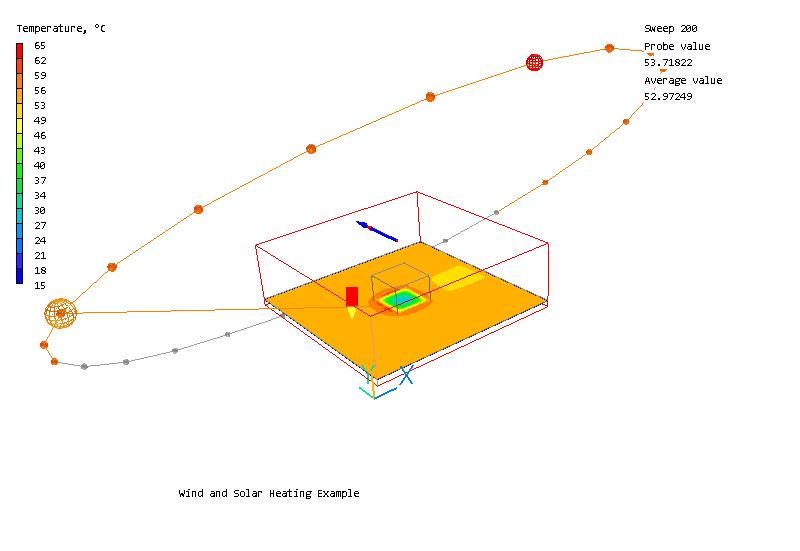
Temperature in the first cell below ground level at Z = 4.73
Qualitatively this is correct in that the sun-facing sides of the building are much hotter than the shadowed sides. However, the temperature level is far too high.
This is due to the choice of materials, and hence thermal conductivities. As was mentioned earlier for the building at least, all the properties should be some average of the materials composing the building.
We can check the sensitivity of the calculation by replacing the materials used with more conductive ones, and rerunning.
Before we change the settings, we can save the current results so that we can come back to them later without having to re-run the case.
In the PHOENICS-VR environment, click on 'Save as a case', make a new folder called 'WINDSUN', select the new folder, and save as 'RUN3'.
Return to the Editor. (Run, Pre-processor, VR-Editor).
Open the Object Management Dialog.
Double-click the SOIL object and open its Attributes dialog. Change the material to 111 Steel. Click OK twice to return to Object Management.
Double-click the BUILDING object and open its Attributes dialog. Change the material to 110 Silver. Click OK twice to return to Object Management.
We are only choosing these materials because they have much higher thermal conductivities, Silver being about 10 times that of steel, and steel 50 times that of brick. In steady state the density and specific heat do not matter. If the case were to be run in transient mode, then they would be crucial as they define the heat capacity of the solids.
In the PHOENICS-VR environment, click on 'Run', 'Solver'(Earth), and click on 'OK' to confirm running Earth.
In the PHOENICS-VR environment, click on 'Run', 'Post processor',then GUI Post processor (VR Viewer) Viewer)'. Click 'OK' on the file names dialog to accept the default files.
The temperature field now looks like this:
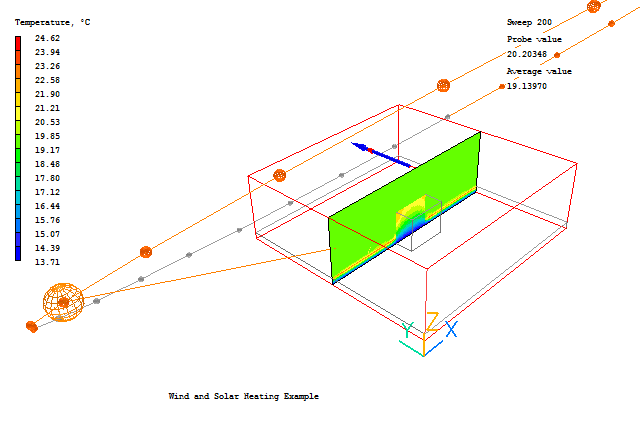
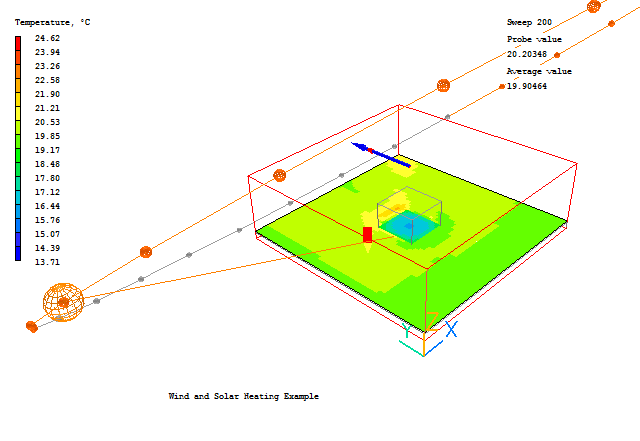
The sunny side of the building is still hotter, but the temperature is much lower. There is a small hot-spot in the lee of the building where the heat is not convected away so well.
In the PHOENICS-VR environment, click on 'Save as a case', , select the folder 'WINDSUN', and save as 'RUN4'.